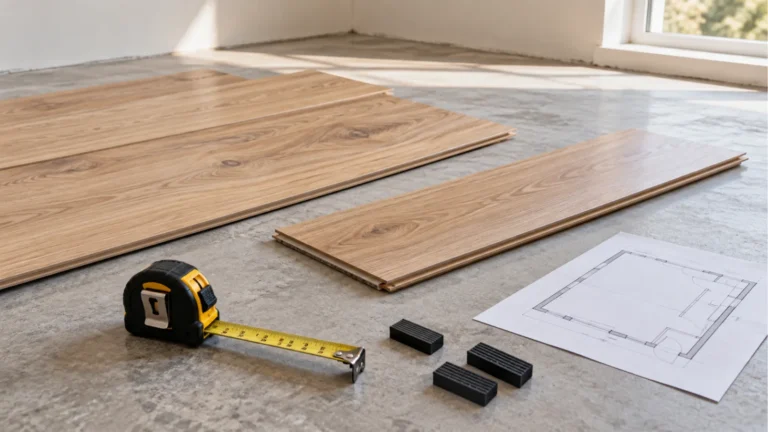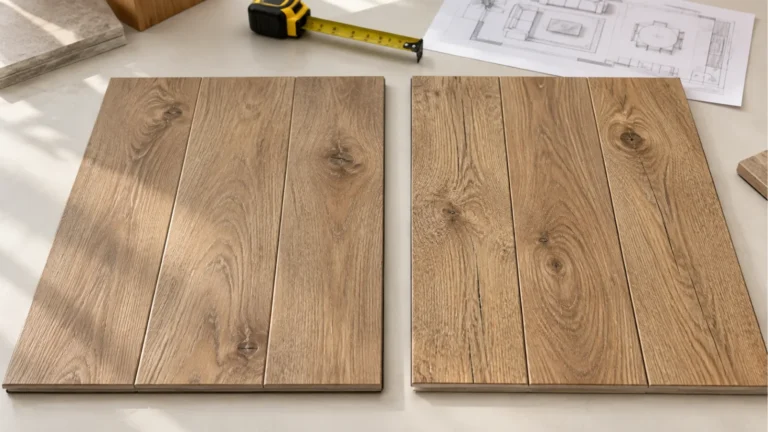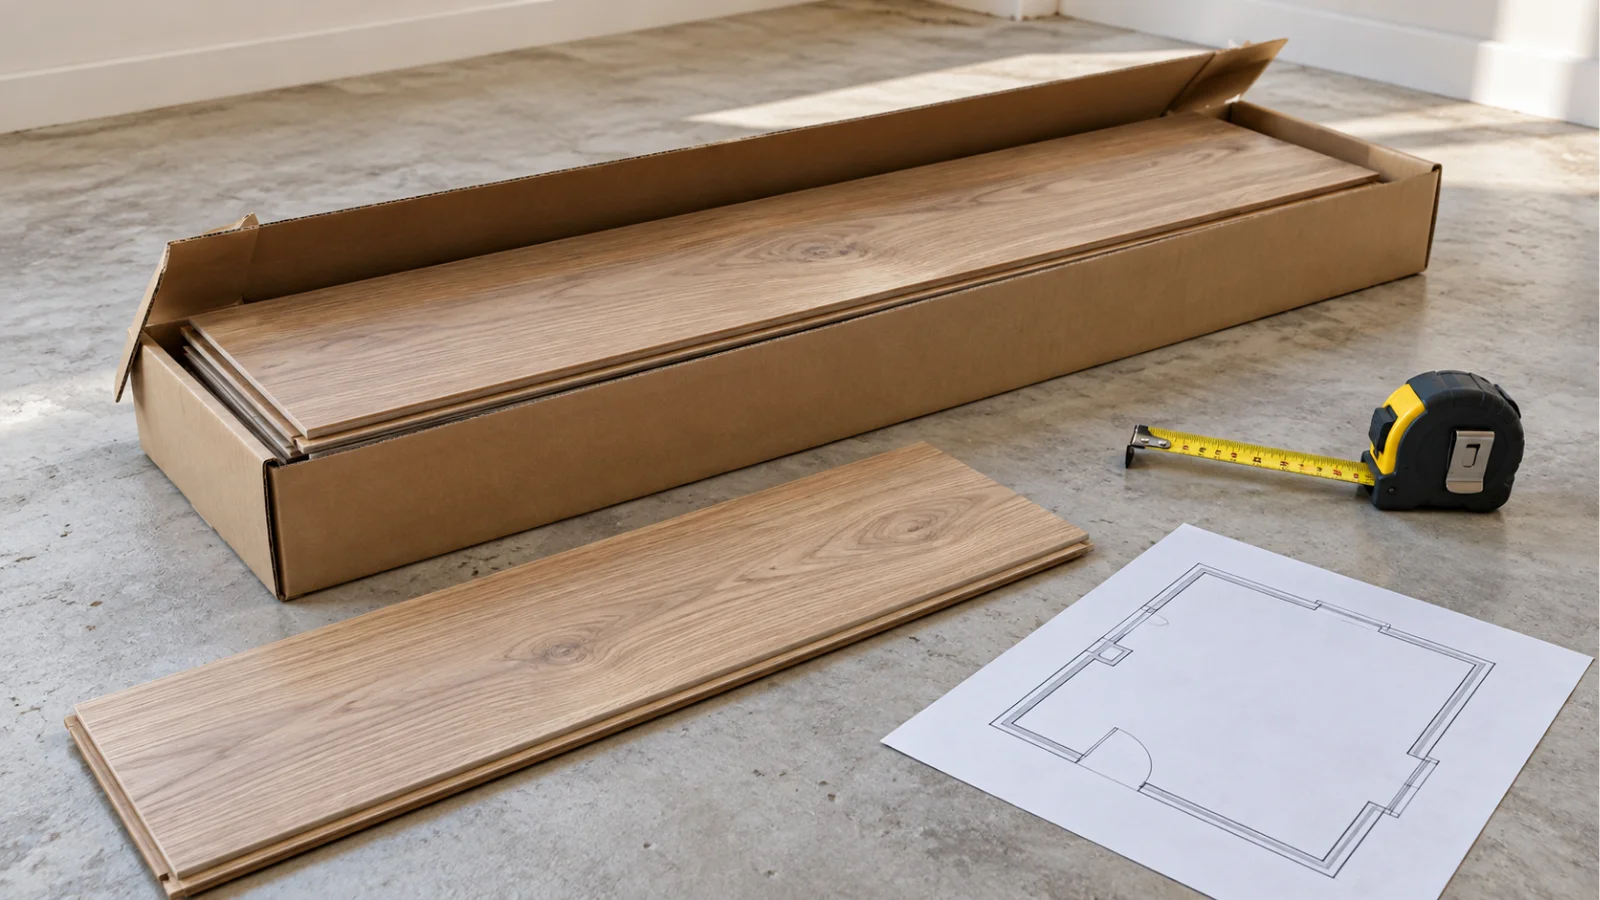
To work out how much flooring you need, measure the area you will cover, add an allowance suited to the product and layout, then divide by the coverage per box and round up to a whole box.
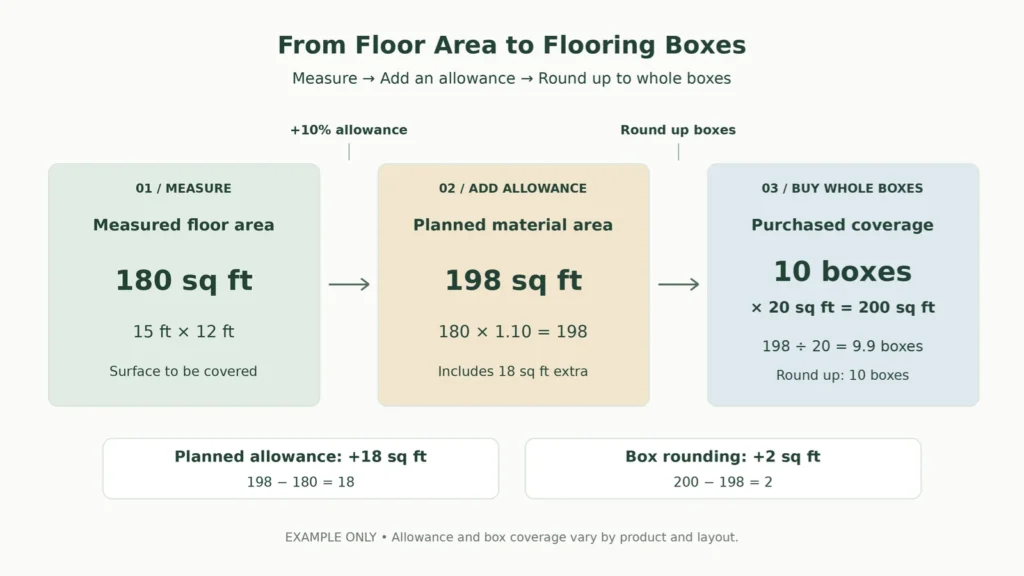
For example, a 180-square-foot room with an illustrative 10% allowance needs 198 square feet of material. If each box covers 20 square feet, you would buy 10 boxes, providing 200 square feet.
That is the basic calculation. The useful part is knowing what belongs in the room measurement, what the allowance covers, and why the amount you purchase differs from the area of the floor.
You can work through the numbers with the MyProjectNest flooring calculator after gathering your measurements and product coverage.
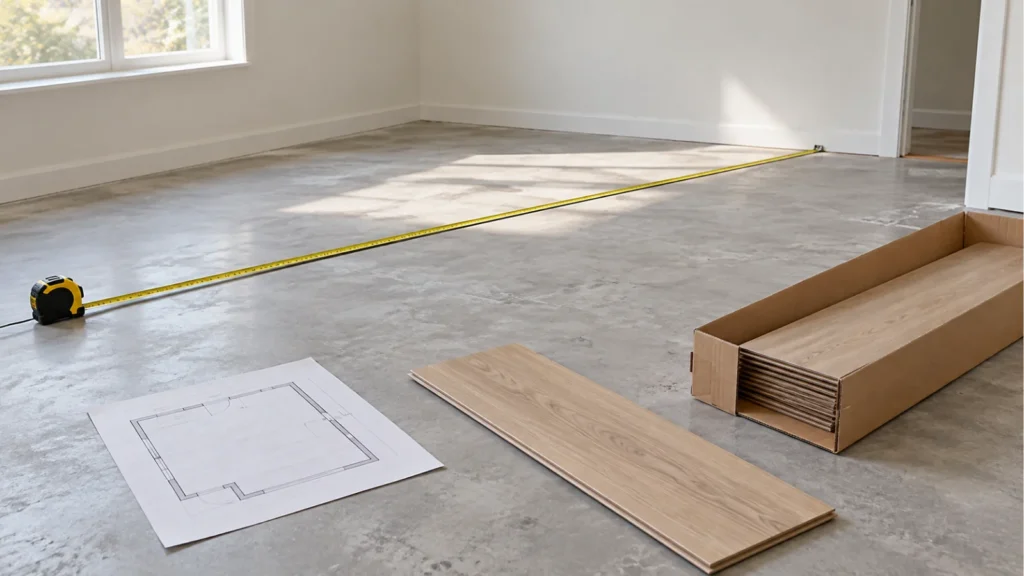
Measure the floor area first
Rectangular rooms: multiply length by width
Measure the floor footprint rather than using a listing’s room dimensions. Move obstacles enough to identify corners and recesses, and record actual measurements before rounding.
Floor area = length × width
For a room measuring 15 feet by 12 feet:
15 ft × 12 ft = 180 sq ft
That is approximately 16.72 m².
Square feet measure area. Linear feet measure length. A 12-foot wall does not tell you the floor area unless you also know the room’s other dimension.
Convert inches before multiplying
A measurement of 12 feet 6 inches is 12.5 feet, not 12.6 feet.
Decimal feet = feet + (inches ÷ 12)
For a room measuring 12 ft 6 in by 10 ft 3 in:
- Length: 12 + 6 ÷ 12 = 12.5 ft
- Width: 10 + 3 ÷ 12 = 10.25 ft
- Area: 12.5 × 10.25 = 128.125 sq ft
Keep that precision through the calculation. Round the final box count upward rather than rounding every measurement upward along the way.
Irregular rooms: add nonoverlapping sections
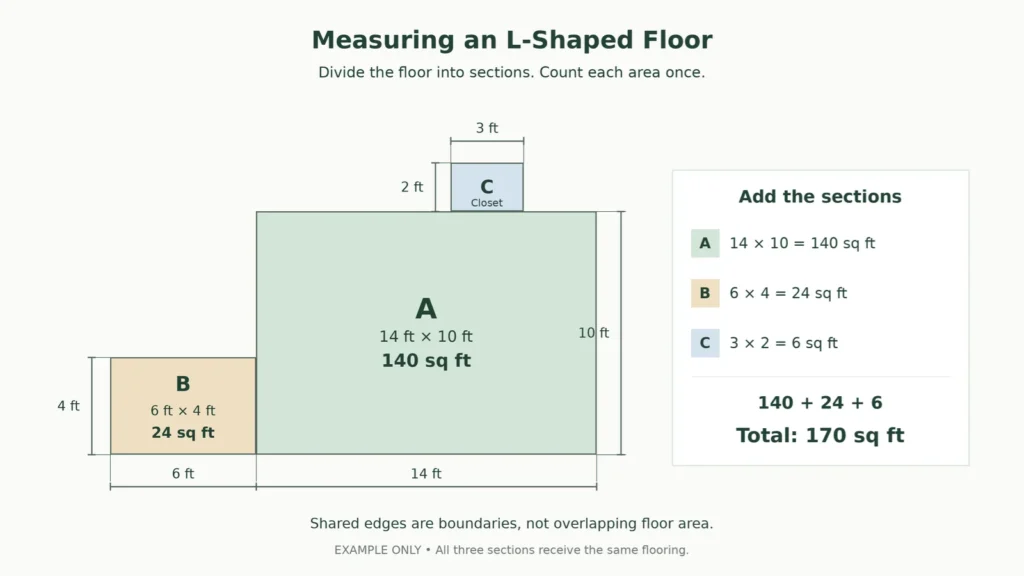
Divide an L-shaped room into rectangles that do not overlap. Give each section a letter on the sketch.
| Section | Length | Width | Area |
|---|---|---|---|
| Main room A | 14 ft | 10 ft | 140 sq ft |
| Extension B | 6 ft | 4 ft | 24 sq ft |
| Closet C | 3 ft | 2 ft | 6 sq ft |
| Total | 170 sq ft |
Total area = A + B + C = 140 + 24 + 6 = 170 sq ft
This assumes all three sections receive the same flooring and none overlaps another. Measuring the outer bounding rectangle without subtracting the missing corner would overstate an L-shaped floor’s area.
Include space beneath movable furniture. For fixed cabinets or islands, confirm the installation boundary before subtracting their footprint. Whether flooring continues beneath them depends on the flooring system and installation instructions.
Choose an allowance rather than assuming one
A material allowance covers planned overage. It may include offcuts, product selection, mistakes, and spare pieces, depending on how you define it.
Manufacturer guidance differs. CALI’s Select vinyl instructions suggest an additional 5% for cutting waste and grading allowance, while its solid bamboo instructions describe an 8% allowance split between cutting waste and grading. These are product-specific examples, not percentages to apply to every floor. Cali
Start with the current instructions for your selected product, then review the layout:
| Layout factor | Question to resolve |
|---|---|
| Straight rows in a simple rectangle | Can suitable end cuts become starters elsewhere? |
| Diagonal installation or patterned layout | What does the perimeter cut plan leave unusable? |
| Numerous closets and recesses | How many short or narrow cuts are needed? |
| Directional locking edges | Will offcuts still connect in the required position? |
| Future repairs | Does the allowance already include retained spares? |
For a complex pattern, ask the installer or supplier to assess the cut plan before ordering. Increasing a percentage by guesswork is less useful than understanding where pieces will be lost.
Add the allowance once
For this guide, an allowance is expressed as a percentage added to the measured floor area.
Planned material area = floor area × (1 + allowance ÷ 100)
Using the 180-square-foot room and an illustrative 10% allowance:
180 × (1 + 10 ÷ 100) = 198 sq ft
The extra amount is 18 sq ft.
Do not enter 198 square feet into a calculator and then add the same 10% again. That would apply the allowance twice. Also check whether a retailer’s estimate already includes overage.
Convert the material area into boxes
Find the carton’s stated coverage, not just its plank dimensions or piece count.
Coverage varies by product. For example, Pergo lists 24.54 sq ft per carton for XP+ Stone Haven Oak. Check the exact product and package you intend to purchase. Pergo Flooring
Boxes needed = round up(planned material area ÷ coverage per box)
Using hypothetical cartons covering 20 sq ft:
198 sq ft ÷ 20 sq ft/box = 9.9 boxes
Round up to 10 boxes.
Purchased coverage = boxes × coverage per box
10 × 20 = 200 sq ft
Keep these quantities separate:
| Quantity | Example | What it means |
|---|---|---|
| Measured floor area | 180 sq ft | Surface receiving the flooring |
| Planned material area | 198 sq ft | Floor area plus the chosen allowance |
| Purchased coverage | 200 sq ft | Coverage supplied by whole boxes |
The 2-square-foot difference between planned and purchased coverage comes from carton rounding. The full 20-square-foot difference between purchased coverage and room area is not a prediction of actual waste. Some material may remain usable.
If a supplier sells individual pieces, confirm its ordering unit and recalculate accordingly.
Use the flooring calculator with consistent units
The MyProjectNest flooring calculator provides fields for room length, room width, coverage per box, and extra allowance, with imperial and metric options.
For the rectangular example:
- Select Feet & square feet.
- Enter 15 for length and 12 for width.
- Enter 20 for coverage per box.
- Enter 10 for the example allowance.
- Calculate and check the result against 198 sq ft and 10 boxes.
Use square feet per box with feet-based measurements, or square meters per box with meter-based measurements.
Square meters = square feet × 0.09290304
For example, 20 sq ft ≈ 1.858 m². Avoid entering 20 as metric coverage if the carton actually states 20 square feet.
Handle multiple sections as one material order
The calculator uses a rectangular length-and-width input. For an irregular room, calculate each section’s area and combine the areas before making the final allowance and box calculation.
If several rooms use identical flooring, summing their planned material areas before rounding can avoid buying a separately rounded carton for every room. However, review offcut reuse, installation boundaries, and any separate spare-material needs first.
Do not invent rectangular dimensions for an irregular room just to fit the form. Use your measurement table and the formulas above to check the combined order.
Check the order before buying
A box estimate covers the finish flooring. It does not automatically include underlayment, adhesives, moisture-control layers, transitions, or baseboards.
Use this final checklist:
- Confirm every section on the sketch is included once.
- Check the product name, color, SKU, and carton coverage.
- Record the allowance and what it includes.
- Round up after dividing by carton coverage.
- Decide whether purchased overage provides enough retained spares.
- Measure trim and transitions separately.
- Check availability, delivery, and return terms with the supplier.
For laminate, use the installation planning and preparation guide to check the base, flooring layers, and row layout before finalizing accessories.