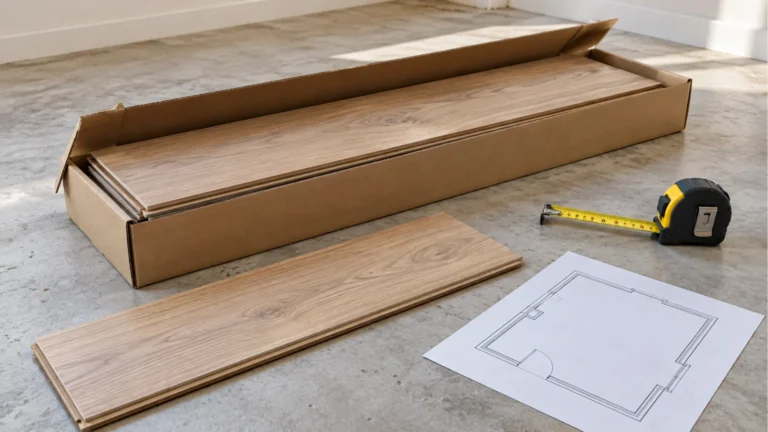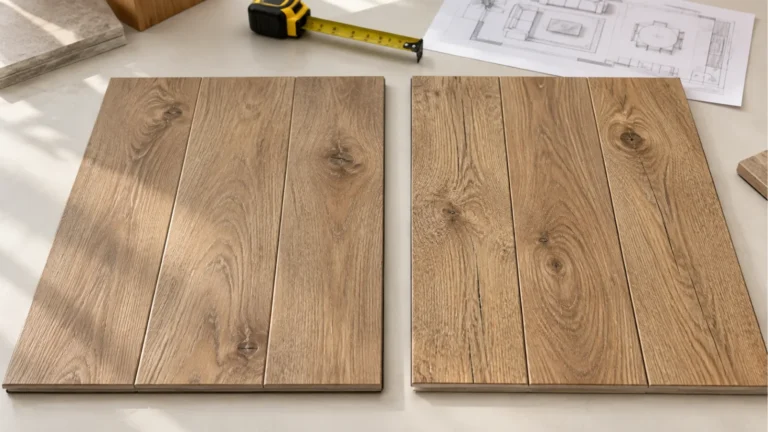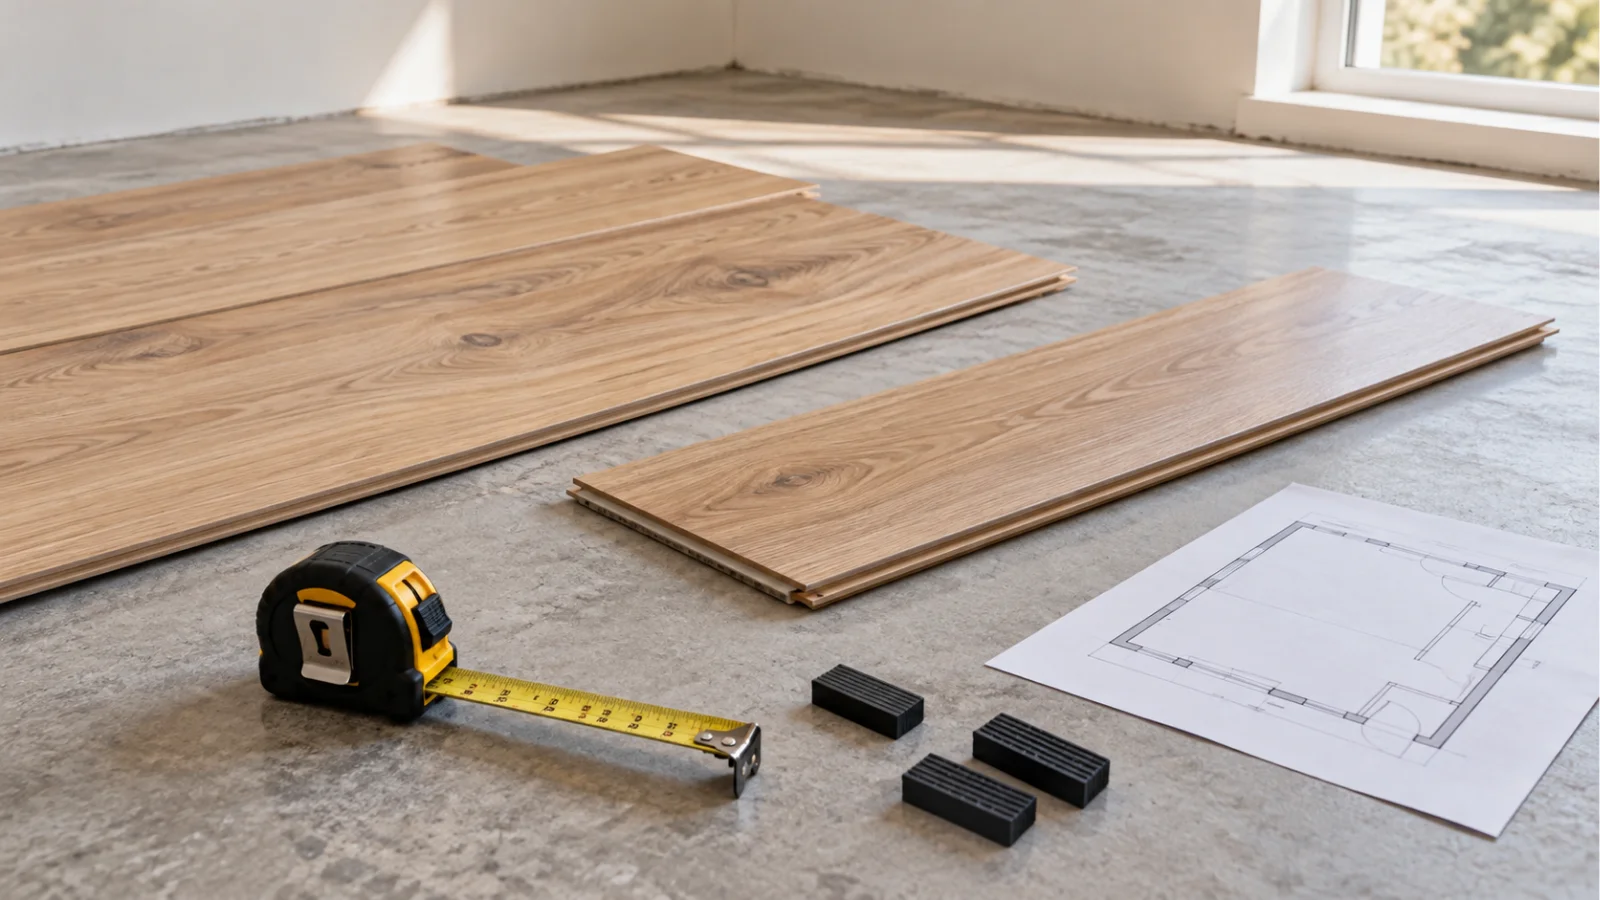
Learning how to install laminate flooring starts before you click the first two planks together. Prepare a firm, flat, dry base, confirm your flooring’s acclimation and underlayment requirements, and map out the rows before cutting.
For a typical floating click-lock floor, the sequence is straightforward: check the room and subfloor, prepare the surface, install the specified layers, assemble the planks with the required expansion space, and finish the edges. The details depend on your product. A useful plan turns those details into measurements, a shopping list, and a clear order of work.
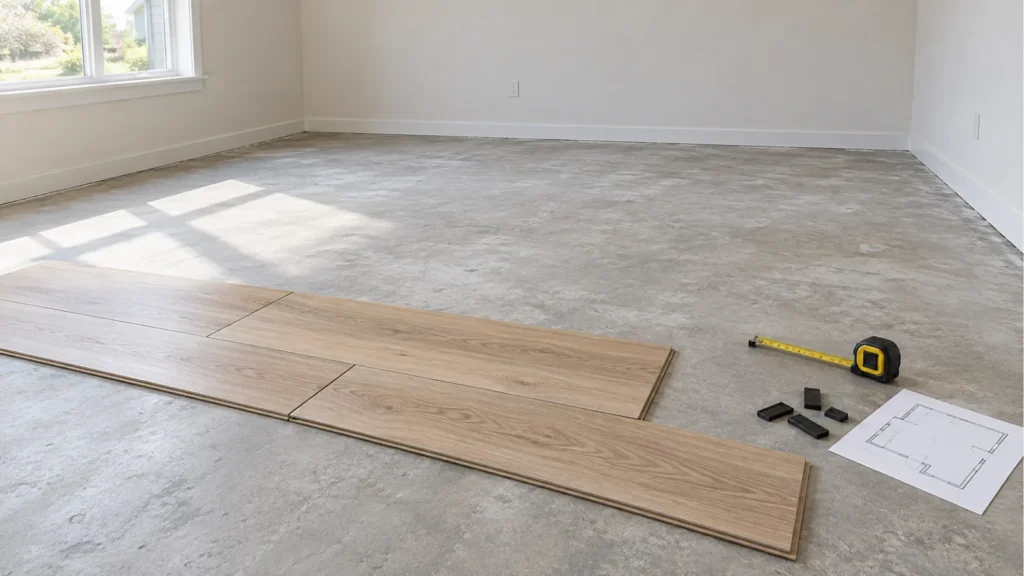
Check the subfloor before buying the finishing pieces
Look for firmness, flatness, and cleanliness
Walk the room and mark soft spots, movement, raised seams, and damaged areas. Once the surface is safe to work on, remove ordinary debris and check it with a long straightedge in several directions.
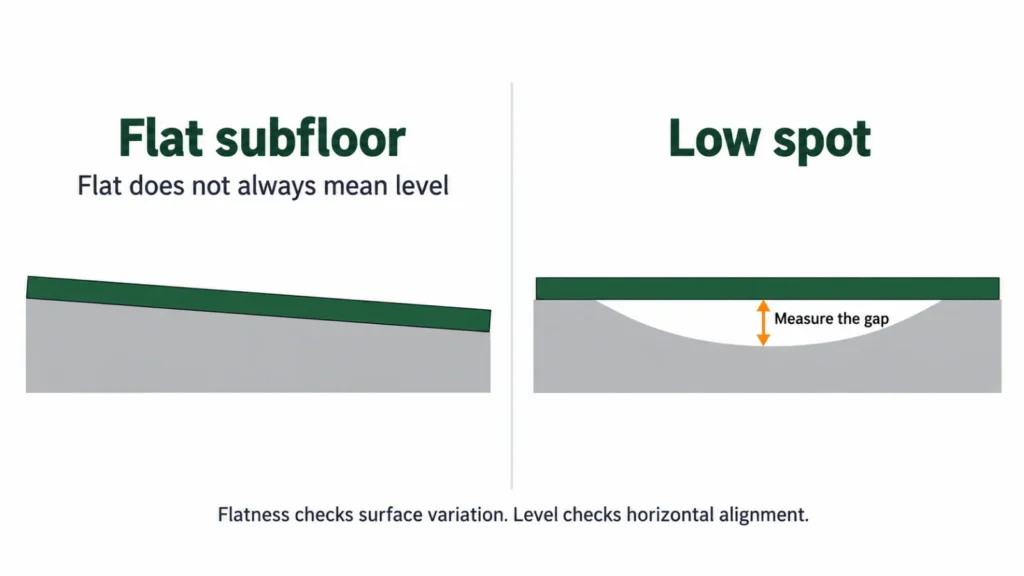
Flatness concerns bumps and dips; level describes whether the surface is horizontal. A bubble level alone cannot show every local depression. Compare your measurements with the tolerance and straightedge length in your flooring instructions.
For example, the Pergo Pro guide specifies no more than 3/16 inch of unevenness over a 10-foot span—approximately 4.8 mm over 3 m. That is a product-specific example, not a limit to apply to every laminate floor. pdf.lowes.com
| What you find | What to resolve before installation |
|---|---|
| Raised seam or ridge | Identify the cause and select an appropriate correction method. |
| Local depression | Check whether a compatible patching compound is suitable. |
| Softness or repeated movement | Have the support or damaged subfloor assessed. |
| Dampness or staining | Find the moisture source and complete the required testing. |
| Existing floor covering | Confirm whether the exact assembly is an approved base. |
Do not assume that extra foam will correct an uneven floor. Resolve the surface problem and recheck it before adding the flooring layers.
Treat moisture as a separate check
A surface can look dry without meeting the flooring’s moisture requirements. Confirm the specified test, acceptable result, and moisture-control assembly for your substrate.
Pergo’s guidance identifies different tests for concrete and wood and requires a moisture barrier for its concrete installations. Follow the current instructions for your exact product rather than transferring those limits to another brand. PERGO® Flooring
If you cannot perform or interpret the required test, ask a qualified flooring installer. A moisture barrier does not repair a leak.
Before disturbing older resilient flooring, backing, or adhesive, consider whether asbestos may be present. The EPA advises against sanding, scraping, or otherwise disturbing suspected asbestos materials and recommends professional assessment when renovation could disturb them.
Confirm acclimation and the flooring layers
Do not assume every product needs the same waiting period
Acclimation is product-dependent. Shaw currently states that its laminate does not require acclimation when the specified installation-site conditions are met. Pergo likewise notes that not all floors require it. These statements do not establish a rule for other products. Shaw Floors
Record the required room conditions and whether cartons must remain unopened. If your instructions specify a waiting period, build it into the schedule. Keep the room within the required conditions during installation and afterward.
Separate cushioning from moisture control
Underlayment and a vapor barrier serve different purposes, even when combined in one approved product.
Check whether the planks have attached padding and whether additional underlayment is allowed. More padding is not automatically better: Pergo Pro prohibits additional underlayment beneath its attached-pad planks, while Pergo XP+ identifies a specific approved accessory. pdf.lowes.com
List each approved layer in order, including its thickness. Use that total to check doors and transitions before installation.
Measure the room and calculate the order
Sketch the room, including closets, doorways, alcoves, and fixed objects. Divide irregular shapes into nonoverlapping rectangles.
Room area = length × width
For a 12-foot by 14-foot room:
12 ft × 14 ft = 168 sq ft, approximately 15.61 m².
Suppose your cut plan calls for an illustrative 8% allowance and the selected cartons cover 20 sq ft each:
Order area = room area × (1 + allowance)
168 sq ft × 1.08 = 181.44 sq ft
Cartons = round up(order area ÷ carton coverage)
181.44 ÷ 20 = 9.072 → 10 cartons
That purchase supplies 200 sq ft, approximately 18.58 m², because cartons are sold whole.
The 8% allowance is an assumption for this example. Determine your allowance from the layout, usable offcuts, manufacturer guidance, and any spare material you want to retain. Diagonal patterns and numerous small cuts need a different assessment from a simple rectangle.
Measure trim separately in linear feet. Floor area does not tell you how much baseboard or transition molding to buy.
Gather tools and materials by task
| Task | Tools and materials to plan for |
|---|---|
| Measuring and layout | Tape measure, pencil, square, straightedge, room sketch |
| Surface preparation | Cleaning equipment and substrate-compatible repair materials |
| Moisture checks | Equipment or professional testing specified for the substrate |
| Flooring assembly | Planks, specified spacers, approved tapping block and pull bar where required |
| Cutting | Suitable saw or laminate cutter; equipment for lengthwise cuts |
| Finishing | Matching trim, transitions, and specified fastening or sealing components |
| Personal protection | Eye and hearing protection, knee pads, appropriate dust controls |
Check the locking-system instructions before buying an installation kit. Shaw’s manuals cover tools and assembly procedures for different systems. Costco
Compare a flooring sample with adjacent surfaces. A matching color does not guarantee that a transition profile fits the height difference.
Plan the direction and first row
Lay several loose planks in both directions and view them from the main doorway. Consider the room’s shape, adjacent flooring, and any product restrictions before choosing.
Then calculate the last-row width. Starting with a full plank can leave an awkward sliver along the opposite wall.
A worked row-width example
Assume a rectangular room with parallel walls:
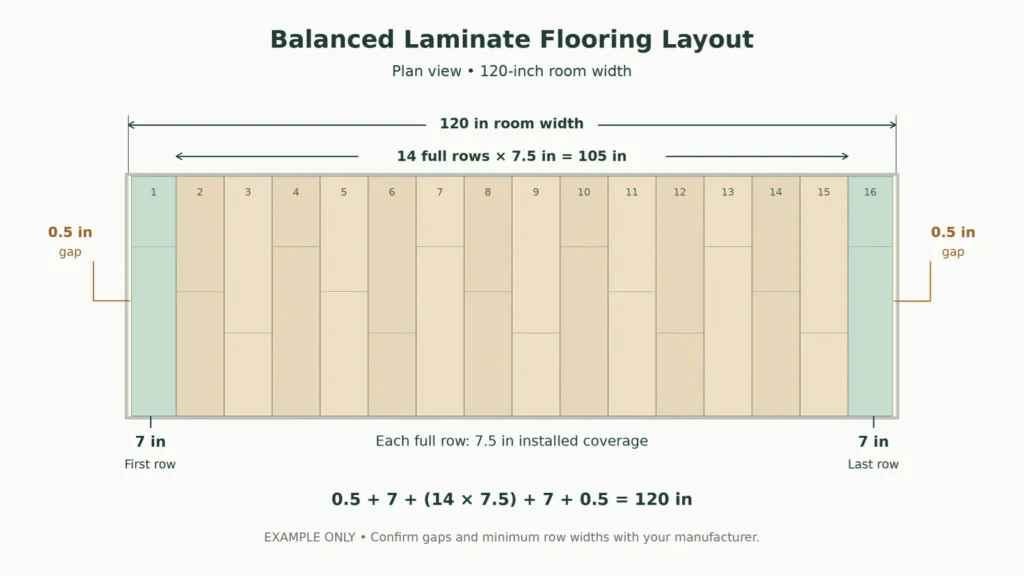
- Room width across the rows: 120 in
- Required gap for this hypothetical product: 1/2 in at each side
- Plank’s installed coverage width: 7.5 in
Usable width = room width − both perimeter gaps
120 − 0.5 − 0.5 = 119 in
Fifteen full rows occupy 15 × 7.5 = 112.5 in, leaving 6.5 in for the last row.
To balance the edges:
First- and last-row widths = (full plank width + remainder) ÷ 2
(7.5 + 6.5) ÷ 2 = 7 in
This gives two 7-inch edge rows with fourteen full rows between them. It is layout arithmetic, not a manufacturer specification. Check minimum row widths and measure at several points if the walls are not parallel.
Also plan end-joint offsets and starter-piece lengths according to your product instructions. An offcut is reusable only if its length and locking edges suit the next position.
Resolve doorways and edges before clicking planks together
Place a sample of the complete floor assembly at each doorway. Check door clearance, casing fit, and the transition to the next surface.
Expansion space must remain around the perimeter and fixed objects. Shaw’s current guidance specifies 1/2 inch for its laminate and says that wall trim should not fasten or bind the floating floor. Use your own product’s requirements. Shaw Floors
Decide where required transitions will sit before laying continuous rows. Check appliance access too: the new floor height should not leave a dishwasher trapped beneath a countertop.
Follow a clear order of work
- Verify the product instructions and room suitability.
- Clear the room and assess any existing covering.
- Complete subfloor repairs and moisture checks.
- Recheck the surface after repairs have cured.
- Meet the specified room conditions and acclimation requirements.
- Confirm the floor layers, door clearances, and transitions.
- Mark the starting line and calculate edge rows.
- Install the approved layers and assemble planks using the specified locking method.
- Finish the edges and check that nothing constrains the floating floor.
Inspect planks before installing them and blend material from multiple cartons, as Shaw recommends. Shaw Floors
Avoid three shortcuts: measuring only once across an irregular room, choosing trim after the floor is complete, and forcing a joint that will not close. Recheck the measurements or connection before continuing.